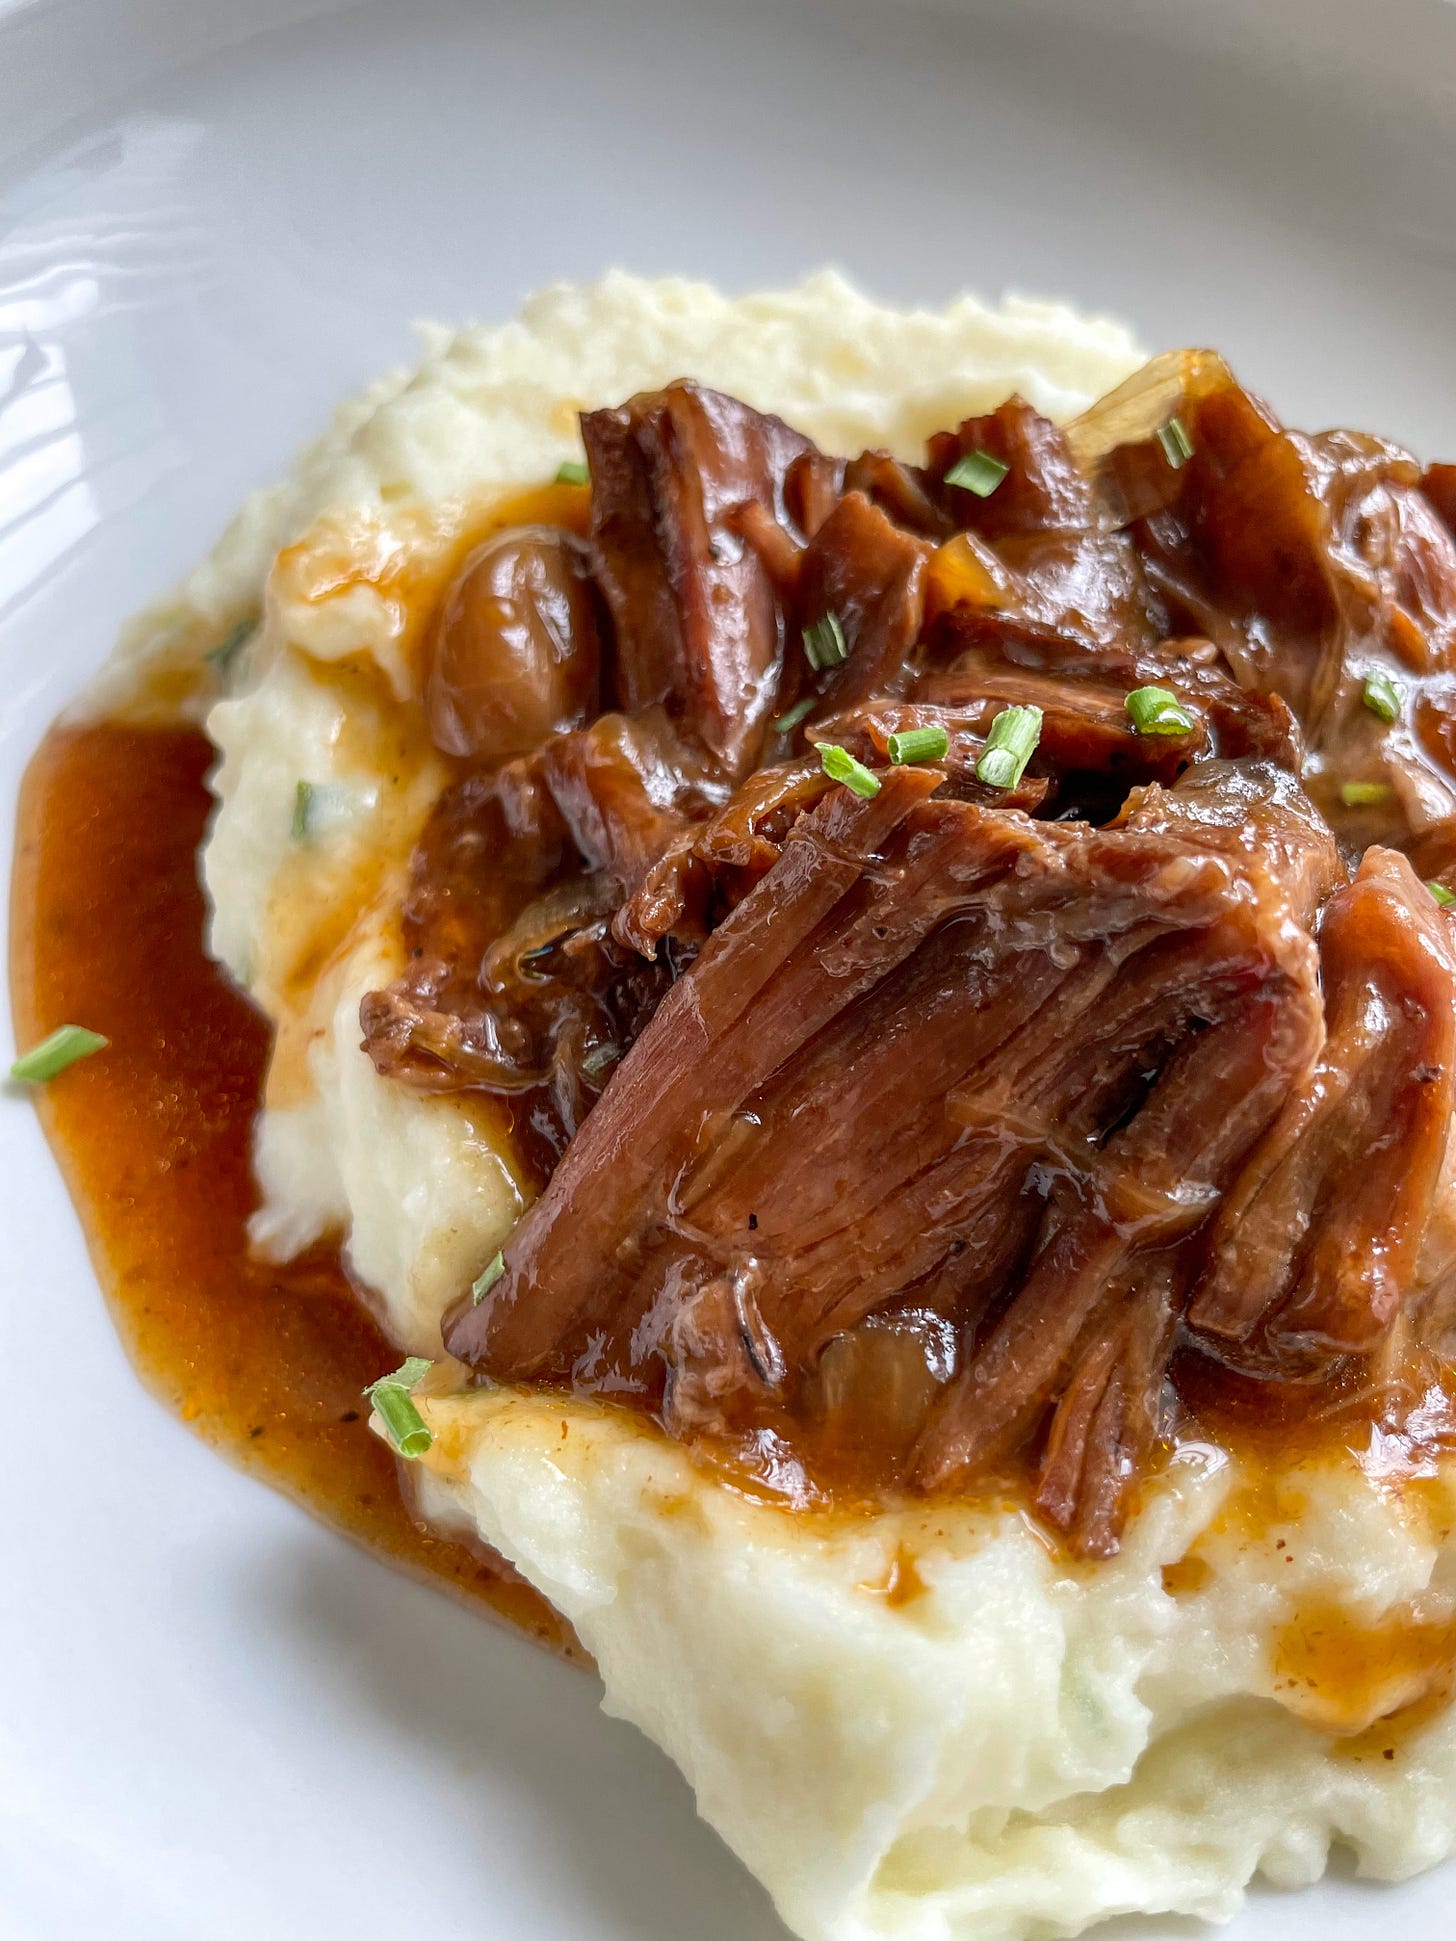
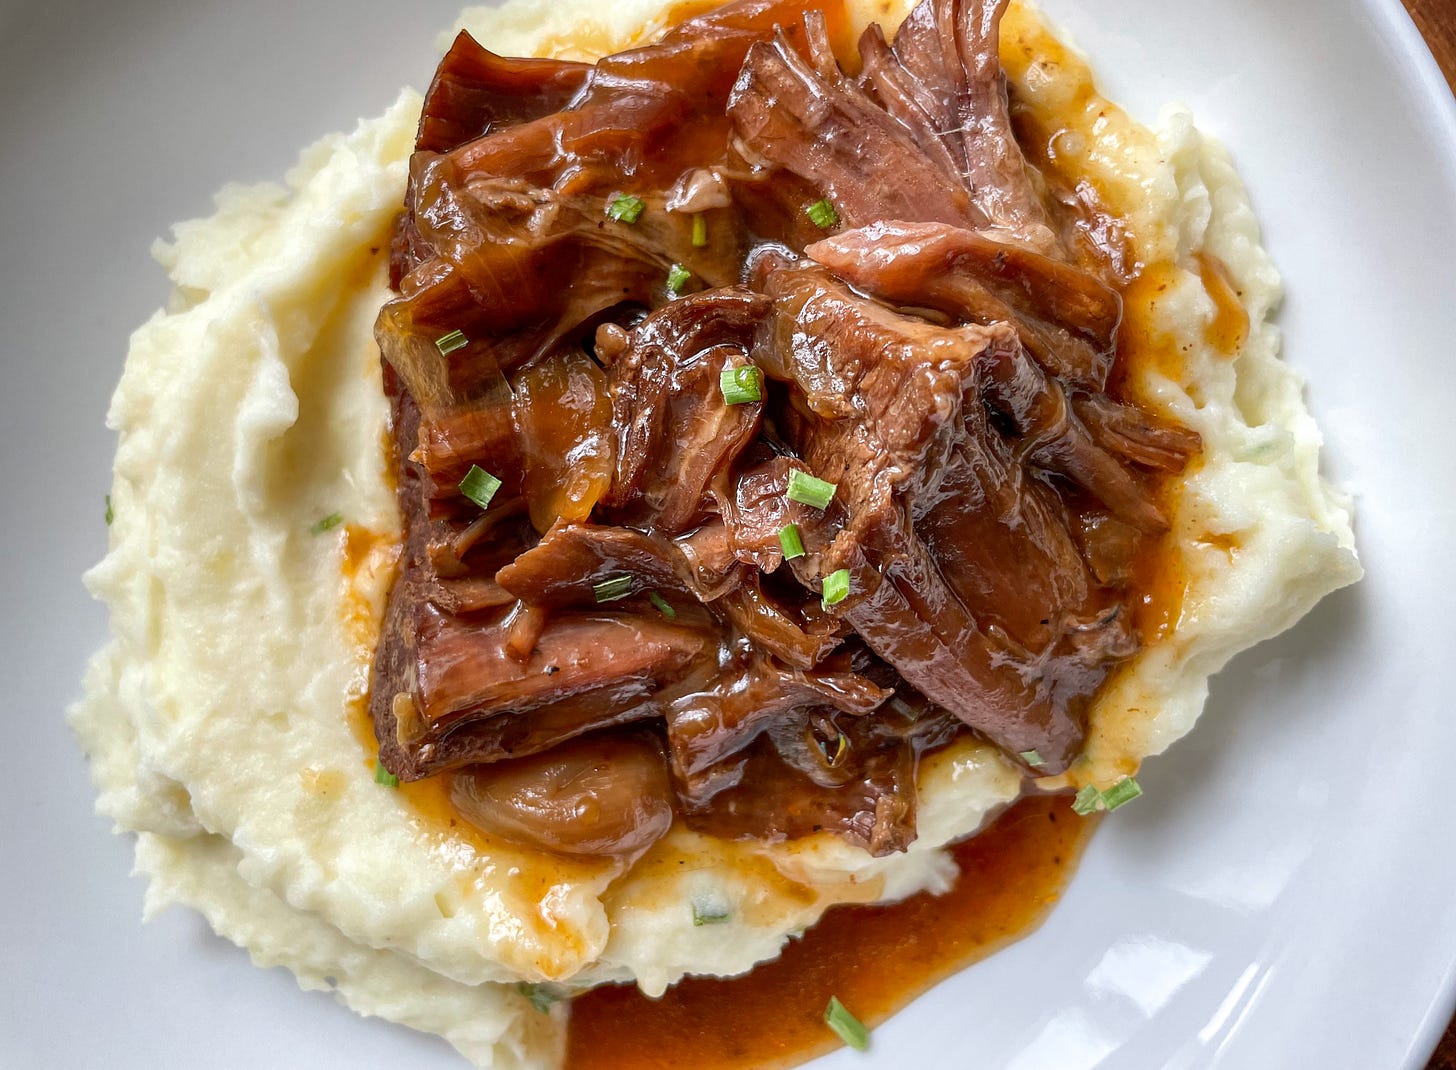
Fork-Tender, Pot Roast and Gravy
My favorite go-to recipe for the coziest pot roast ever. Stick in in the oven or use your instapot like I love to do. Serve with my creamy gouda mashed potatoes!
One thing about me, I LOVE a good pot roast and the gravy made from the braising liquids. It’s crazy to think that I didn’t try to make my first one until like 2019 and best believe my mom was on the phone helping me LOL. But when I finally joined the instapot community, I started making them often because the process became a lot easier. I made this one in the background while working on new cookie recipes and browning pounds of butter for this weekend’s farmers market (see you July 2nd at The Congregation Detroit from 11-2 pm!)
Cooking a pot roast is a lot easier than you think, once prepped it really just takes allowing the fat to break down in the protein to create the juice, tender roast that we all love. When learning how to make pot roast, I had to learn which cut of beef works best for the dish I’d like as well as your skill level.
Here’s how to find the best cut of beef for your pot roast dinner.
Chuck Roast comes from the shoulder and is perfect for braising and ideal for a nice shred. It’s also more affordable than the other cuts and is pretty popularly used. I love catching sales of chuck roast at my local meat counter and freezing it for a lazy Sunday.
A Brisket is also great because of its tenderness. It will hold its shape making it better for slicing. You can get a beautiful brisket from your local meat counter. Be sure to look for marbling which will help the meat tender by breaking down the fats.
I like to say that a Round Roast is for the gworls who know what they’re doing because it is a nice piece of lean meat that will get juicy and tender but it must be cooked properly and to the correct temperature to prevent an overcooked babe.
There are four steps to the braising process which is what we are going to do to cook our perfect comfort dinner- whether in the oven or instapot. Before we begin, you should set the beef out on a food-safe surface and allow it to come to room temperature. This is called “tempering” and ensures an even cook.
The first step of braising is to season the beef with a decent amount of kosher salt and freshly cracked pepper and sear the meat on both sides. I like to use the sear setting on my instapot or if cooking in the oven, use a deep cast iron Dutch oven or pan. Add canola oil to the pan- just enough to coat the bottom- and allow the pan to get hot to the point that the oil is shimmering. Cook on both sides for 2 minutes until a crust has formed.
The second step of braising! Remove the meat from the heat and add in your mirepoix which is equal parts freshly chopped onion, garlic cloves, celery, and carrots (very optional, my family doesn’t like cooked carrots as much lol) We call these the aromatics, and after just 30 seconds of sauteing you’ll smell exactly why! I like to add a teaspoon or two of tomato paste and slowly cook the mirepoix. This is called pincage in French and it adds depth and a nice rich color to beef stocks and sauces. As the mirepoix and tomato paste cook, you will see a lot of brown bits collecting in the bottom of your pot. That is the flavor that will carry this roast all the way to the dinner table. We’re going to take red wine or beef broth and deglaze the pot. This is the third step of braising! Deglazing the bottom of the pan will collect and dissolve all of those brown bits in the bottom of the pot and will create a savory gravy for our pot roast. The fourth step of braising is cooking low and slow but for this recipe, I used my instapot.
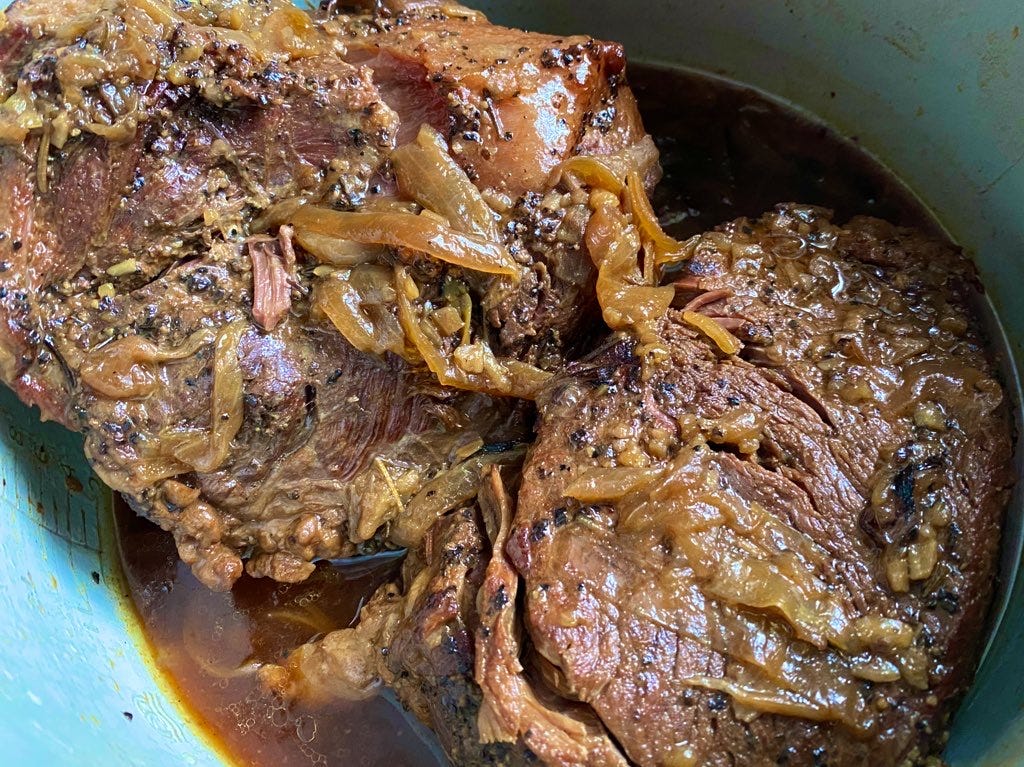
Once the mirepoix has been deglazed with beef broth or red wine, I add the seared beef back to the pot and set my instapot to “pressure cook” for 60 for a 3-pound roast or 80 for a 5-pound roast. If you’re cooking in the oven, cover the pot and cook at 350F for 2.5 to 3 hours. My small hack for adding carrots and potatoes for serving is to stop the instapot when there are 30 minutes left and add them. It ensures that they don’t turn into mush but if you don’t have time, add them for the full cook time.
Once the timer is up, I like to allow the pressure to release on its own in the instapot for 10 minutes before opening up the steam valve and removing the lid. To create a thick gravy, I remove the roast from the instapot and whisk together water and cornstarch and add it to the broth. Turn the instapot settings to “soup” and allow the sauce to thicken as it bubbles. And you’re ready to serve the girls!
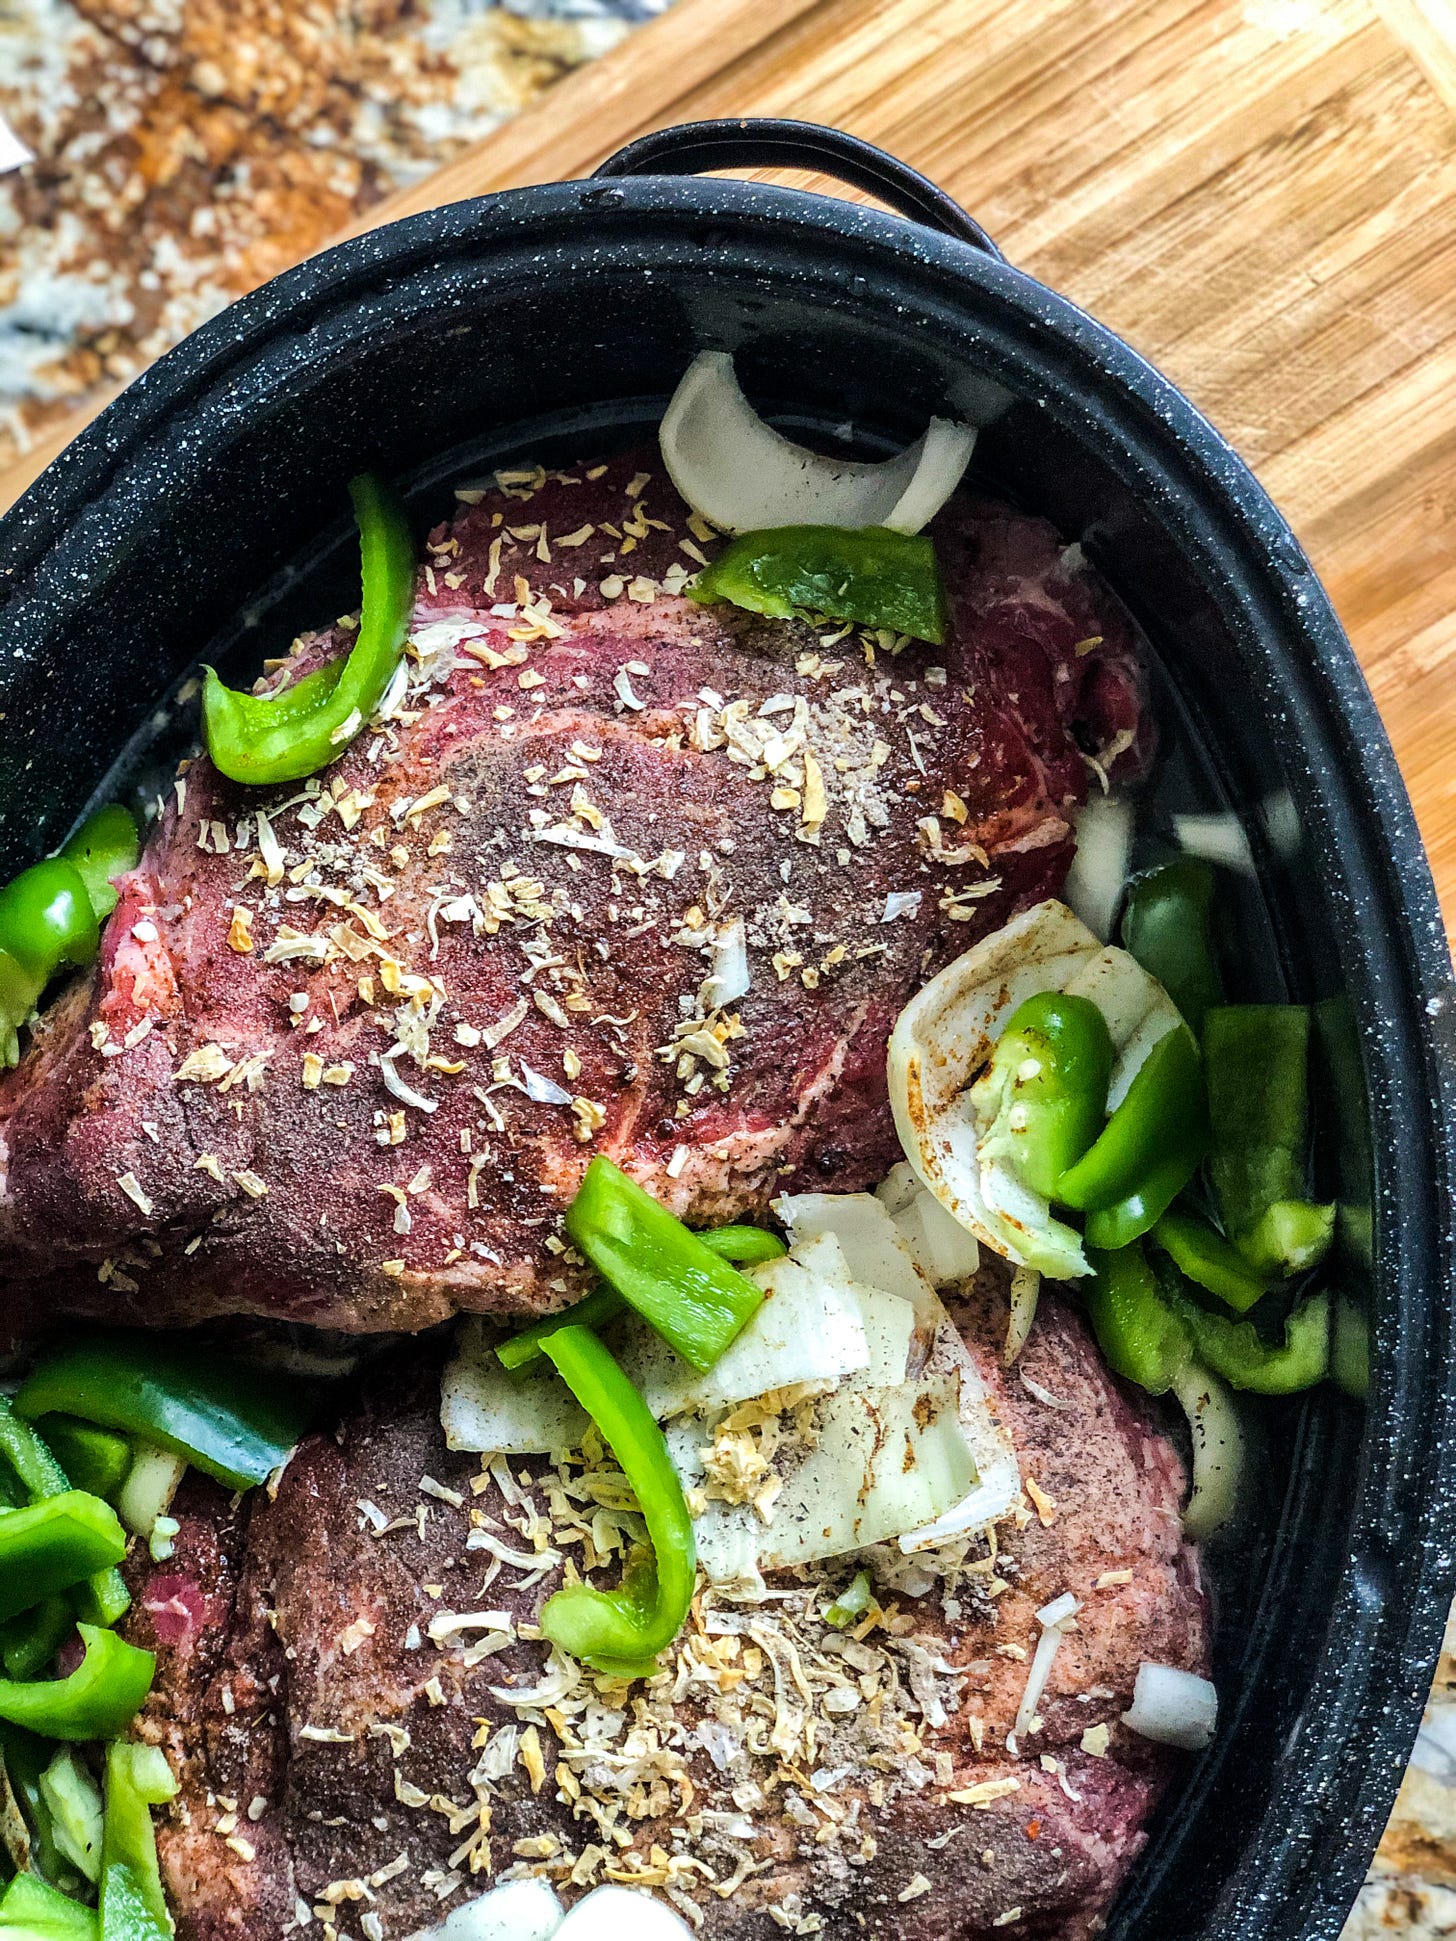
Note: My mom always taught me to add a packet of Lipton’s Soup Mix to recipes like this to enhance the flavor, this recipe is soup mix friendly! Add a packet for extra flavor.
What you need.
3 to 5-pound Chuck Roast or Shoulder Roast
2 tbsp of Canola Oil
2 tsp of Kosher Salt
2 tsp Fresh or Dried Thyme Leaves
3 tsp of Black Pepper
1 Yellow Onion, chopped or sliced into half moons is my favorite.
2 Celery Ribs, peeled and diced
2 large Horse Carrots, peeled and diced or kept in chunks if you like thicker pieces.
1 cup of Portobello Mushrooms, optional
4 Garlic Cloves, minced
1 tbsp of Tomato Paste
3 to 4 cups of Beef Broth, substitute 1/2 cup for a dry, Red Wine.
3 Bay Leaves
4 tbsp of Cornstarch
¼ cup Water, cold
What to Do.
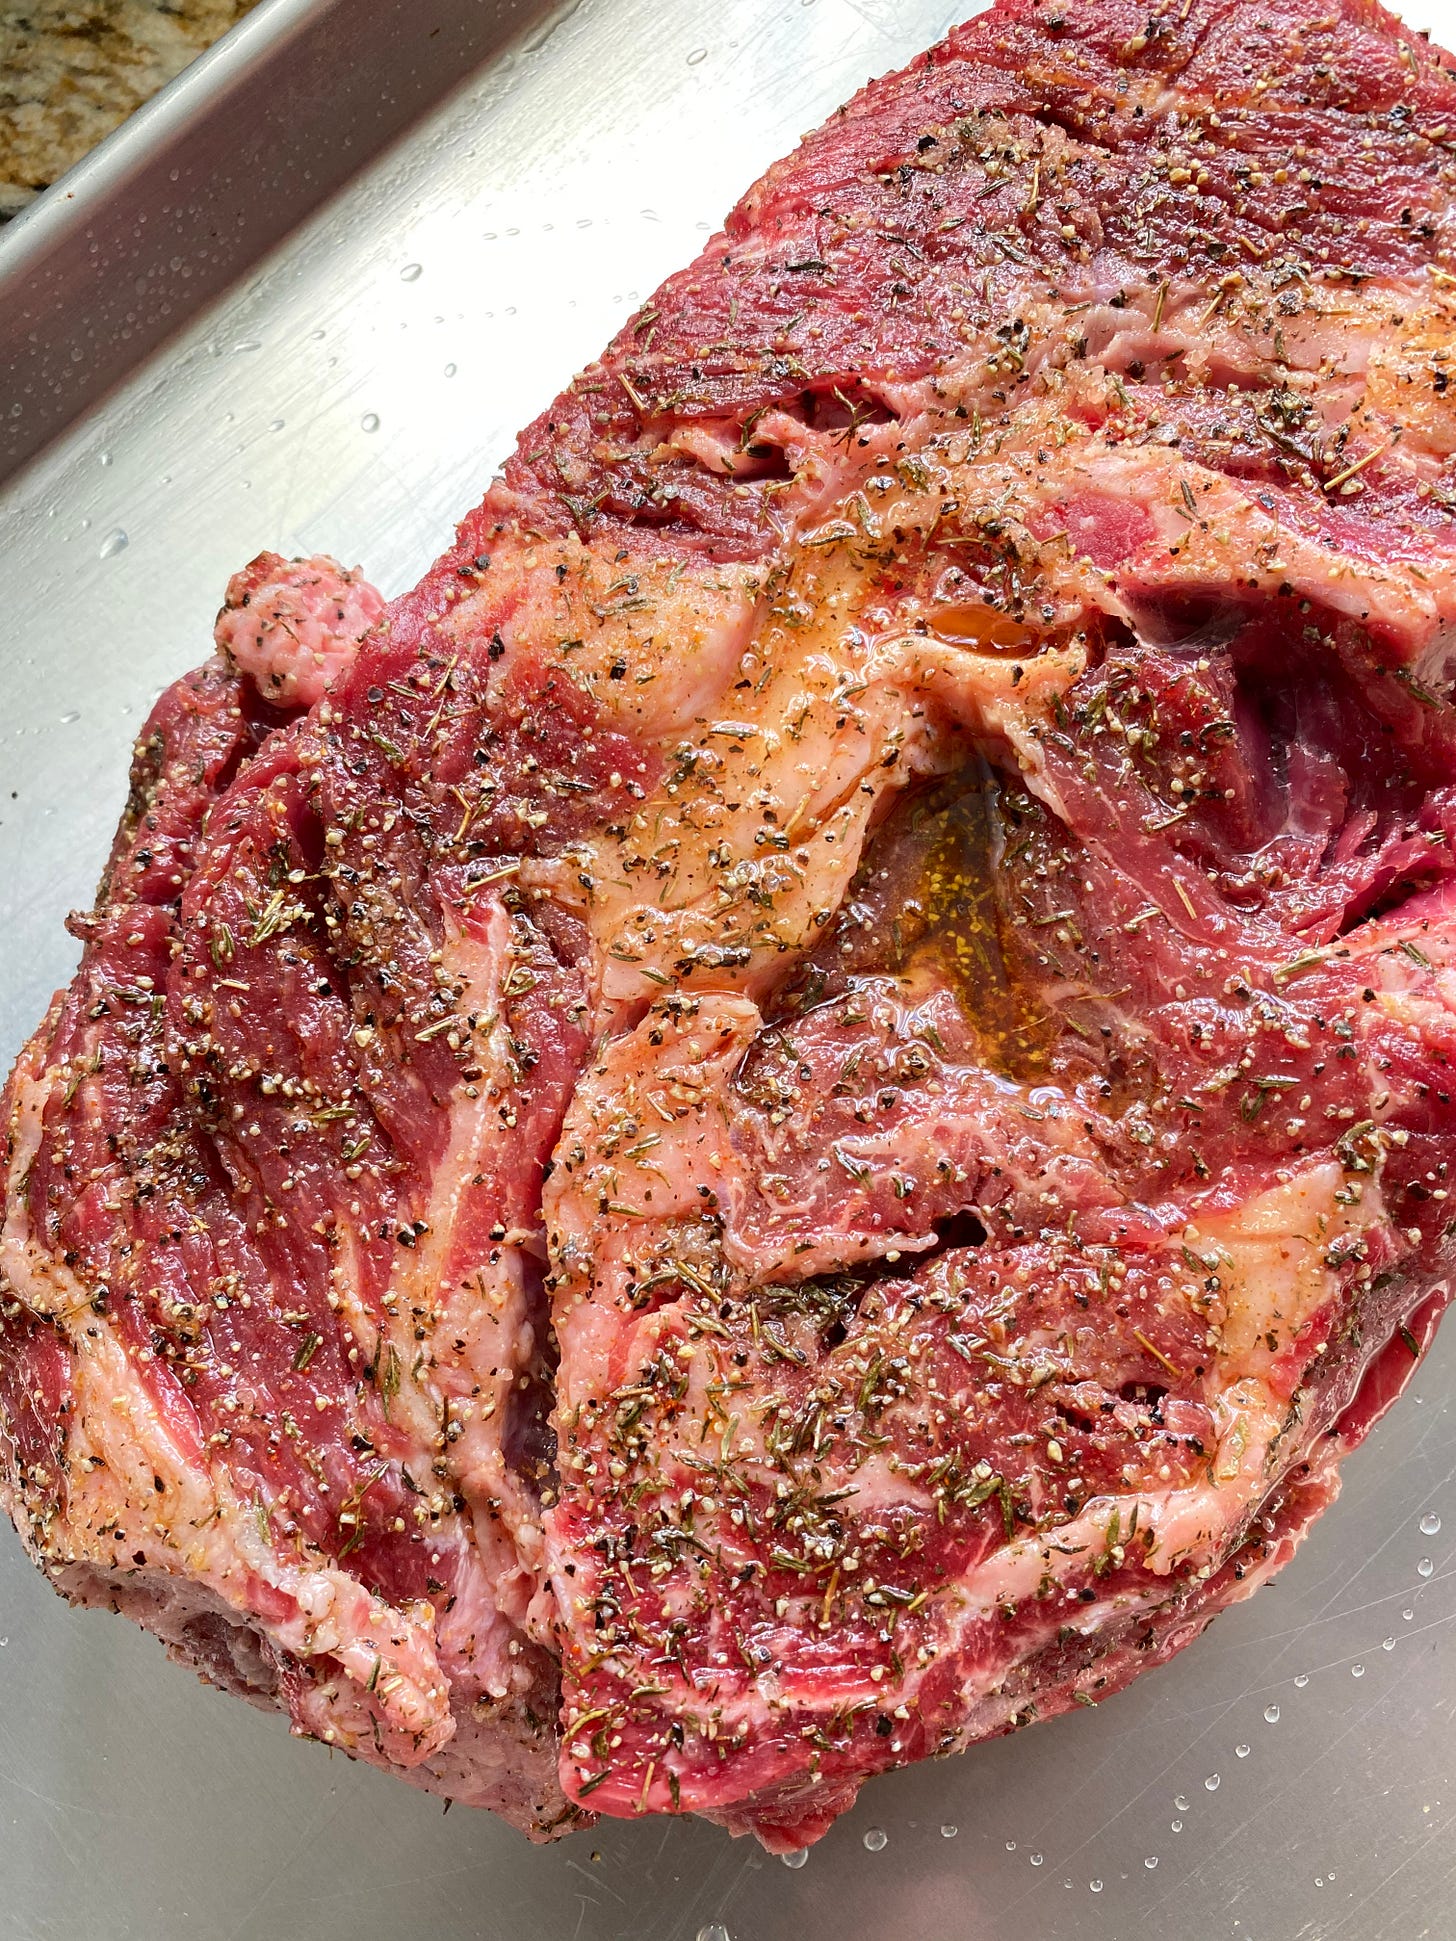
Set your instapot to “saute” and in a small bowl, mix together the salt, pepper, and thyme leaves and rub the mixture all over the roast on all sides. If you’re using a cast iron pot, heat the pot on medium-high heat and follow the same steps.
Add the canola oil to the instapot or pot and allow the oil to get shiny before placing the roast in with tongs. You want to get a good sear on all sides so allow each side to cook unbothered for up to 4 minutes depending on size. Repeat until all sides are browned.
Remove the roast from the instapot and add all of the veggies. Allow to cook until they become fragrant and then, add the tomato paste and cook for 2 minutes.
Deglaze the pot by adding in the beef broth and/or red wine and use a wooden or silicone spatula to scrape any brown bits from the bottom and sides.
Switch the settings to “pressure cook” and add in bay leaves and potatoes. Place the lid on the instapot and make sure that the valve is sealed.
When the time has gone off, allow the instapot to naturally release pressure before opening the pressure valve. After 10 minutes, open the valve and allow the remaining pressure to release.
Remove the roast and potatoes and place on a platter. This is a good time to shred the roast if that’s how you prefer it.
In a small bowl, mix together cold water and cornstarch together to make a slurry. Slurries are made by taking cornstarch or flour and equal parts of cold water or broth to thicken a hot liquid. Be sure to mix well and get rid of any clumps of cornstarch. Slowly add the slurry to the hot braising liquid from the roast to create a thick gravy. Season to taste, if needed, or add in your Lipton onion soup mix.
Serve warm with gravy and tag me in any pictures at @elle.thefoodie!


